How to use Fine Art Cards
Below are video lesson plans on using our Fine Art cards. We'll start with the big picture of how you might setup your Fine Art cards on your learning activity shelves.
Step 1: Conversation and Display
Use these larger format cards to explore the details of each work of art and learn about the year it was made, the artist, and the artwork's style. Then, invite the children to decorate the classroom with their favorites on mini-easels they place throughout the room.
Step 2: Interactive Learning
Progress to Fine Art Matching Cards for hands-on engagement with familiar artworks. These allow children to work with the artwork they love in a new way.
Step 3: Early Writing Skills
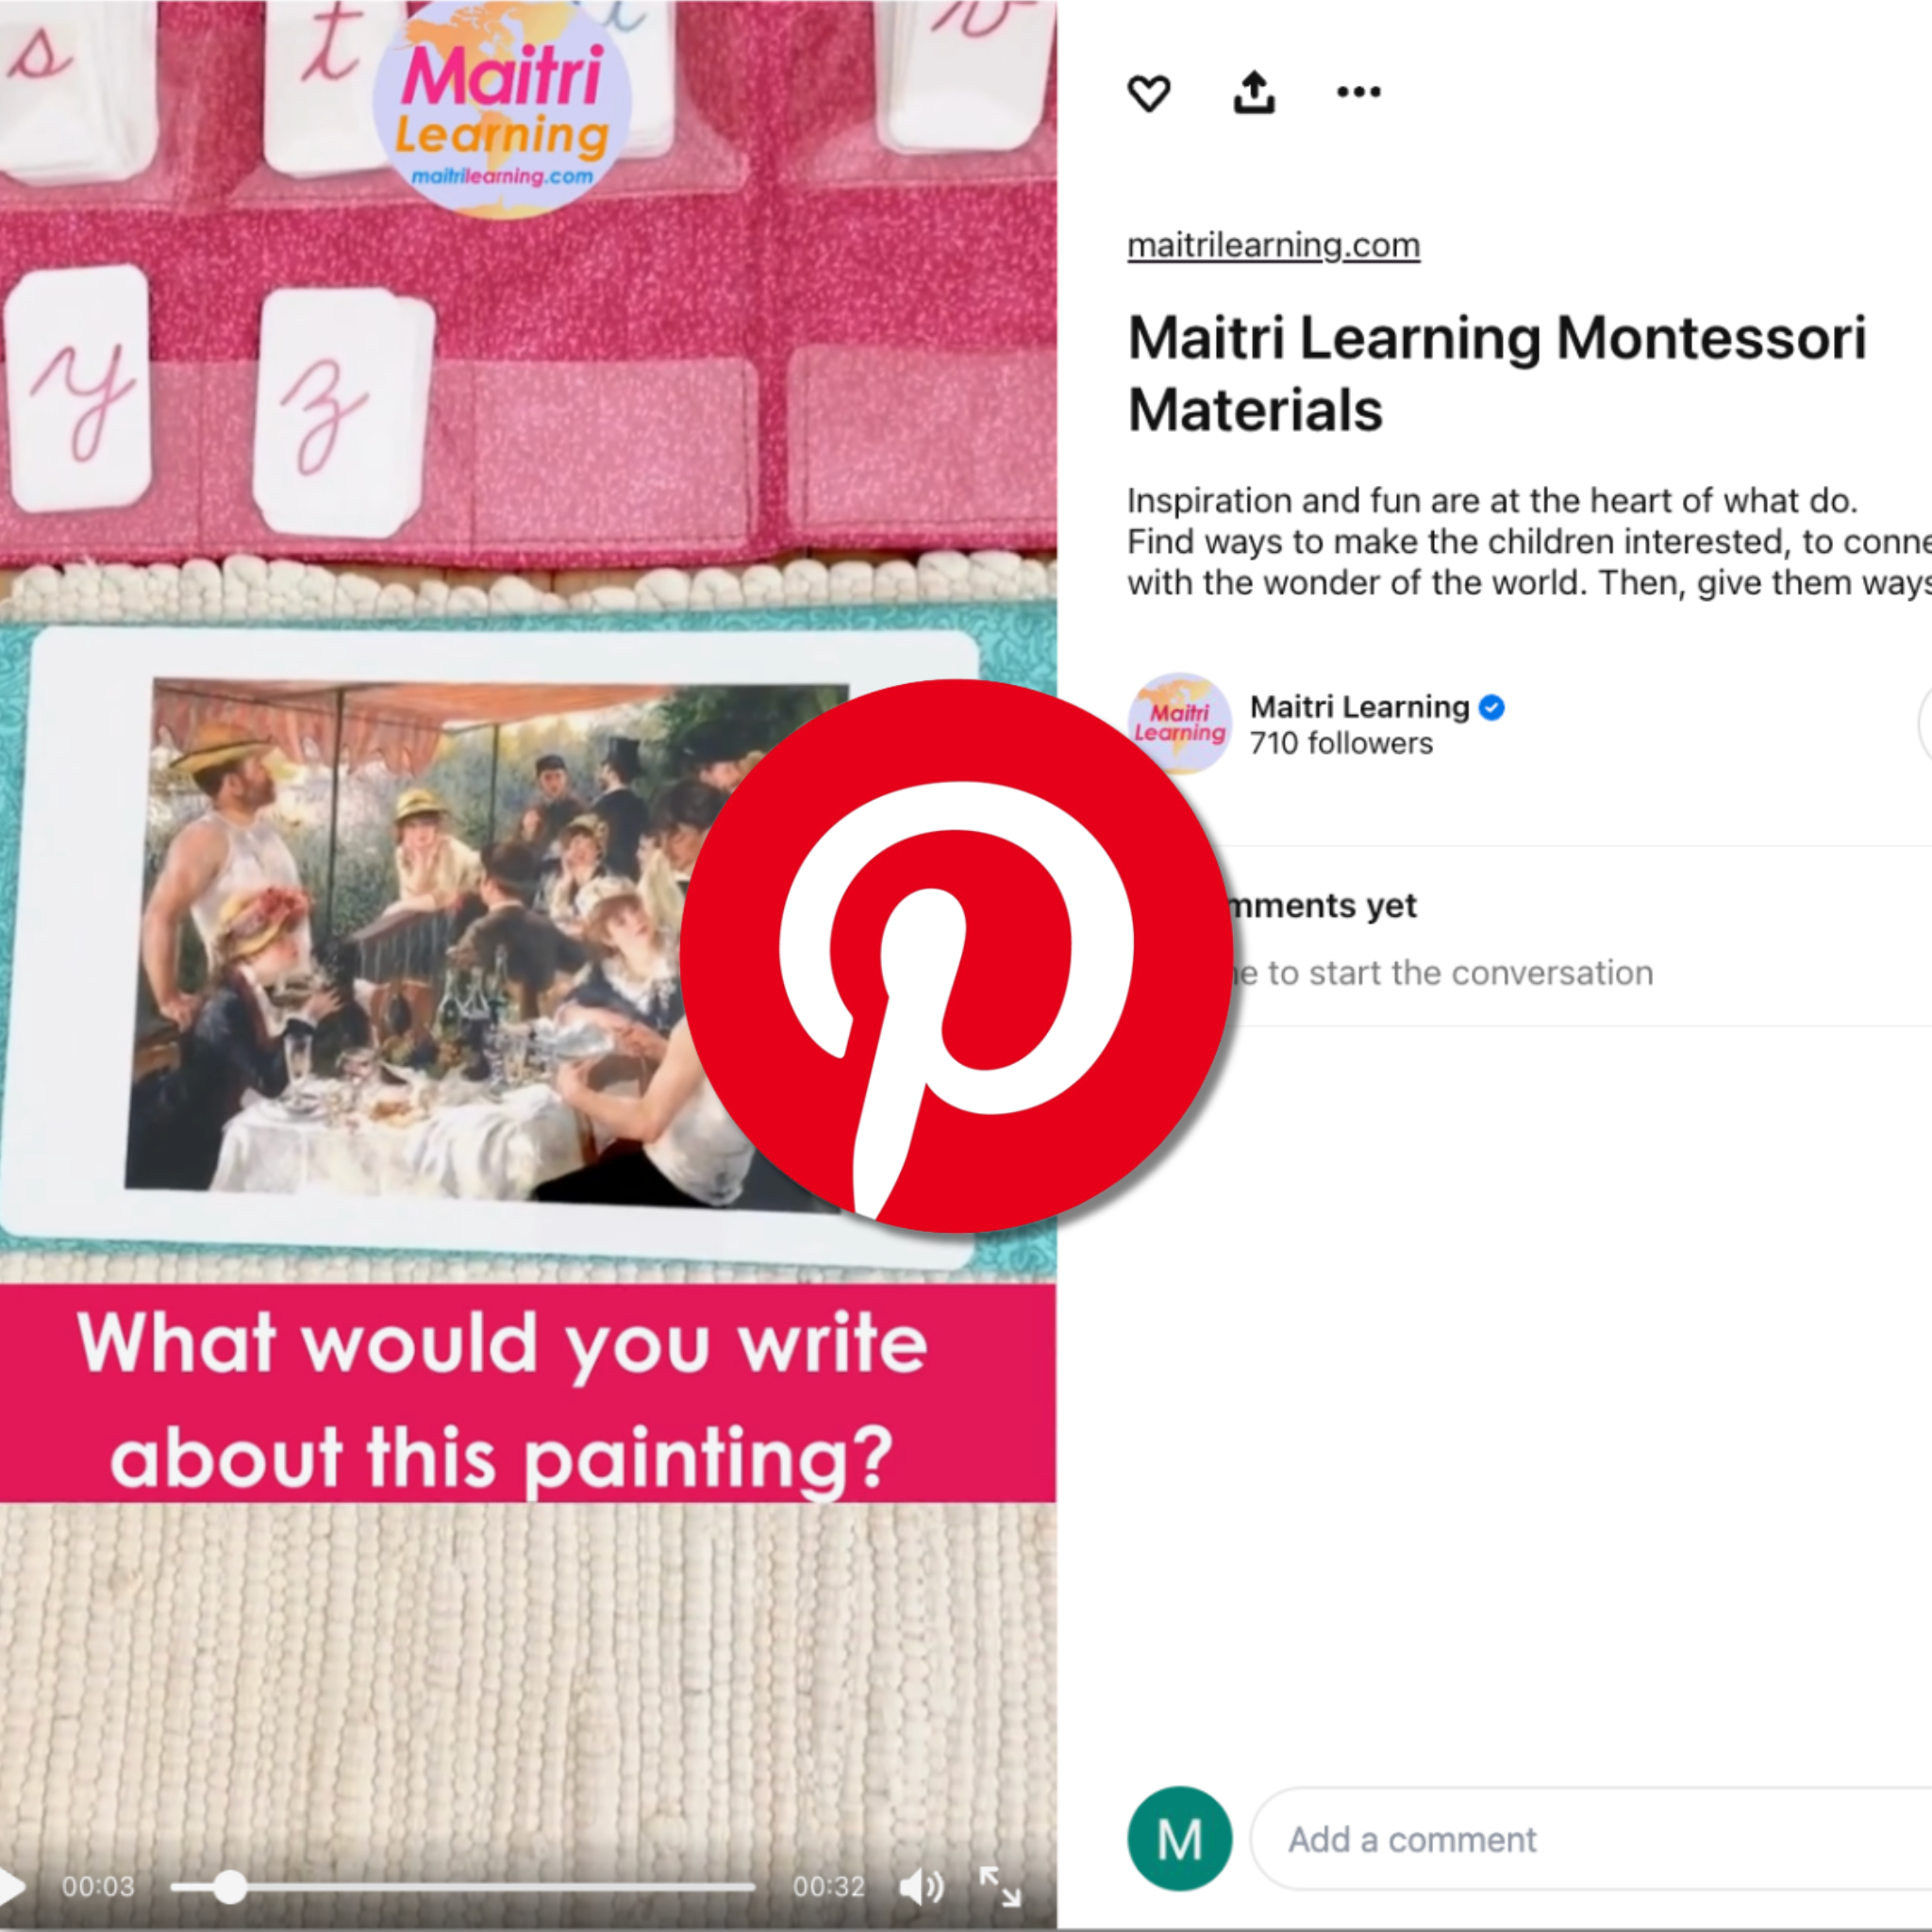
Inspire budding writers to describe their favorite artworks using writing tools like the movable alphabet, chalkboards, or pencil/paper (whatever is appropriate for that child).
Step 4: Reading and Artist Recognition
Introduce 3-Part Fine Art and Artist Cards to connect artworks with their names and creators. Here, children start to understand that both the name of the art and the name of the artist are important. The artists presented correspond with the artists for each piece of art included in the series.
Step 5: Advanced Matching
Challenge students with 4-Part Cards, matching artwork images, names, and artists.


