Setting up the Language area
You've received your training, you've been to conferences, you've researched on the web, you've visited other classrooms and what have you found? Probably about a gizillion different suggestions, ideas, and "research-based" directives on what you should have in your language area. If you actually followed all this advice you would end up with a black hole that slowly sucked up all the calming space and uncluttered beauty from your room! What's a Montessorian to do?
Follow the guidance from my favorite researcher, Angeline Lillard, and get back to the basics. Dr. Lillard led a well-designed study that found that children in classrooms that stuck with the traditional Montessori materials rather than including lots of supplemental materials had better learning outcomes. So, based on her advice, the list here includes only the materials listed in the AMI Montessori Primary Training.
To make life easy, I've boiled down the basics of the AMI/Dwyer Language Area into the six shelves described below.
Reliable manufacturers include Maitri Learning (that's us), Nienhuis or E&O Montessori in Canada. Note: When you receive your Montessori training, you should receive precise instructions on how to make all materials. When you make them yourself, the children will love them more and treat them with greater care (because you will too).
All objects/card materials should be rotated regularly so that the room is always alive and fresh. For example, you'll only have two or three baskets/pouches on your shelf that contain classified vocabulary cards (e.g., Pets, Fruit, Around the House). The baskets/pouches stay the same all year long but the contents of the baskets change. For example, after a week, remove the Around the House cards and replace them with Around Town cards. The next week, swap out a different set or more than one. The point is to keep the content of the shelves dynamic but consistent/reliable without the possibility of gathering dust from lack of use. If the children aren't drawn to a packet after you have presented it several times, swap it out and try it again later in the year.
Shelf 1: Spoken Language

- Artwork of a human (to remind you to give 3-period vocabulary lessons on the parts of the body and to offer conversations at a picture lessons)***
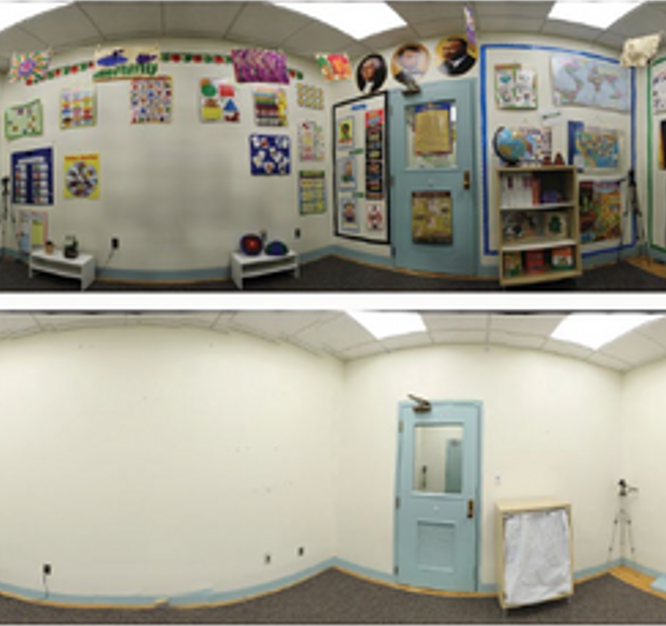
- Picture of your classroom (to remind you to give 3-period vocabulary lessons on the names of everything in the environment)***
- Lyrics from a song (not to read, but to remind you and your assistant to sing a new song each week)***
- Words from a poem (not to read...poetry should be memorized...but to remind you and your assistant to present a new poem each week)***
- Sound Game basket (also called I Spy, this includes either prepared objects or is empty so you can teach the children how to gather objects from the environment to use for Sound games)***
- Two or three sets of Vocabulary cards* (that isolate their subject and include NO letters/words) from different categories to use for 3-period lessons and sorting
- Object matching (with real miniatures of fruits, vegetables, shells, etc.)***
- Three or Four sets of Matching Cards* (one or two for picture to picture matching; two for sorting/matching)
Shelf 2

- Lovely artwork or a plant/flower arrangement***
- Classified books** (like The House Book by Keith Duquette or Bread, Bread, Bread by Ann Morris)
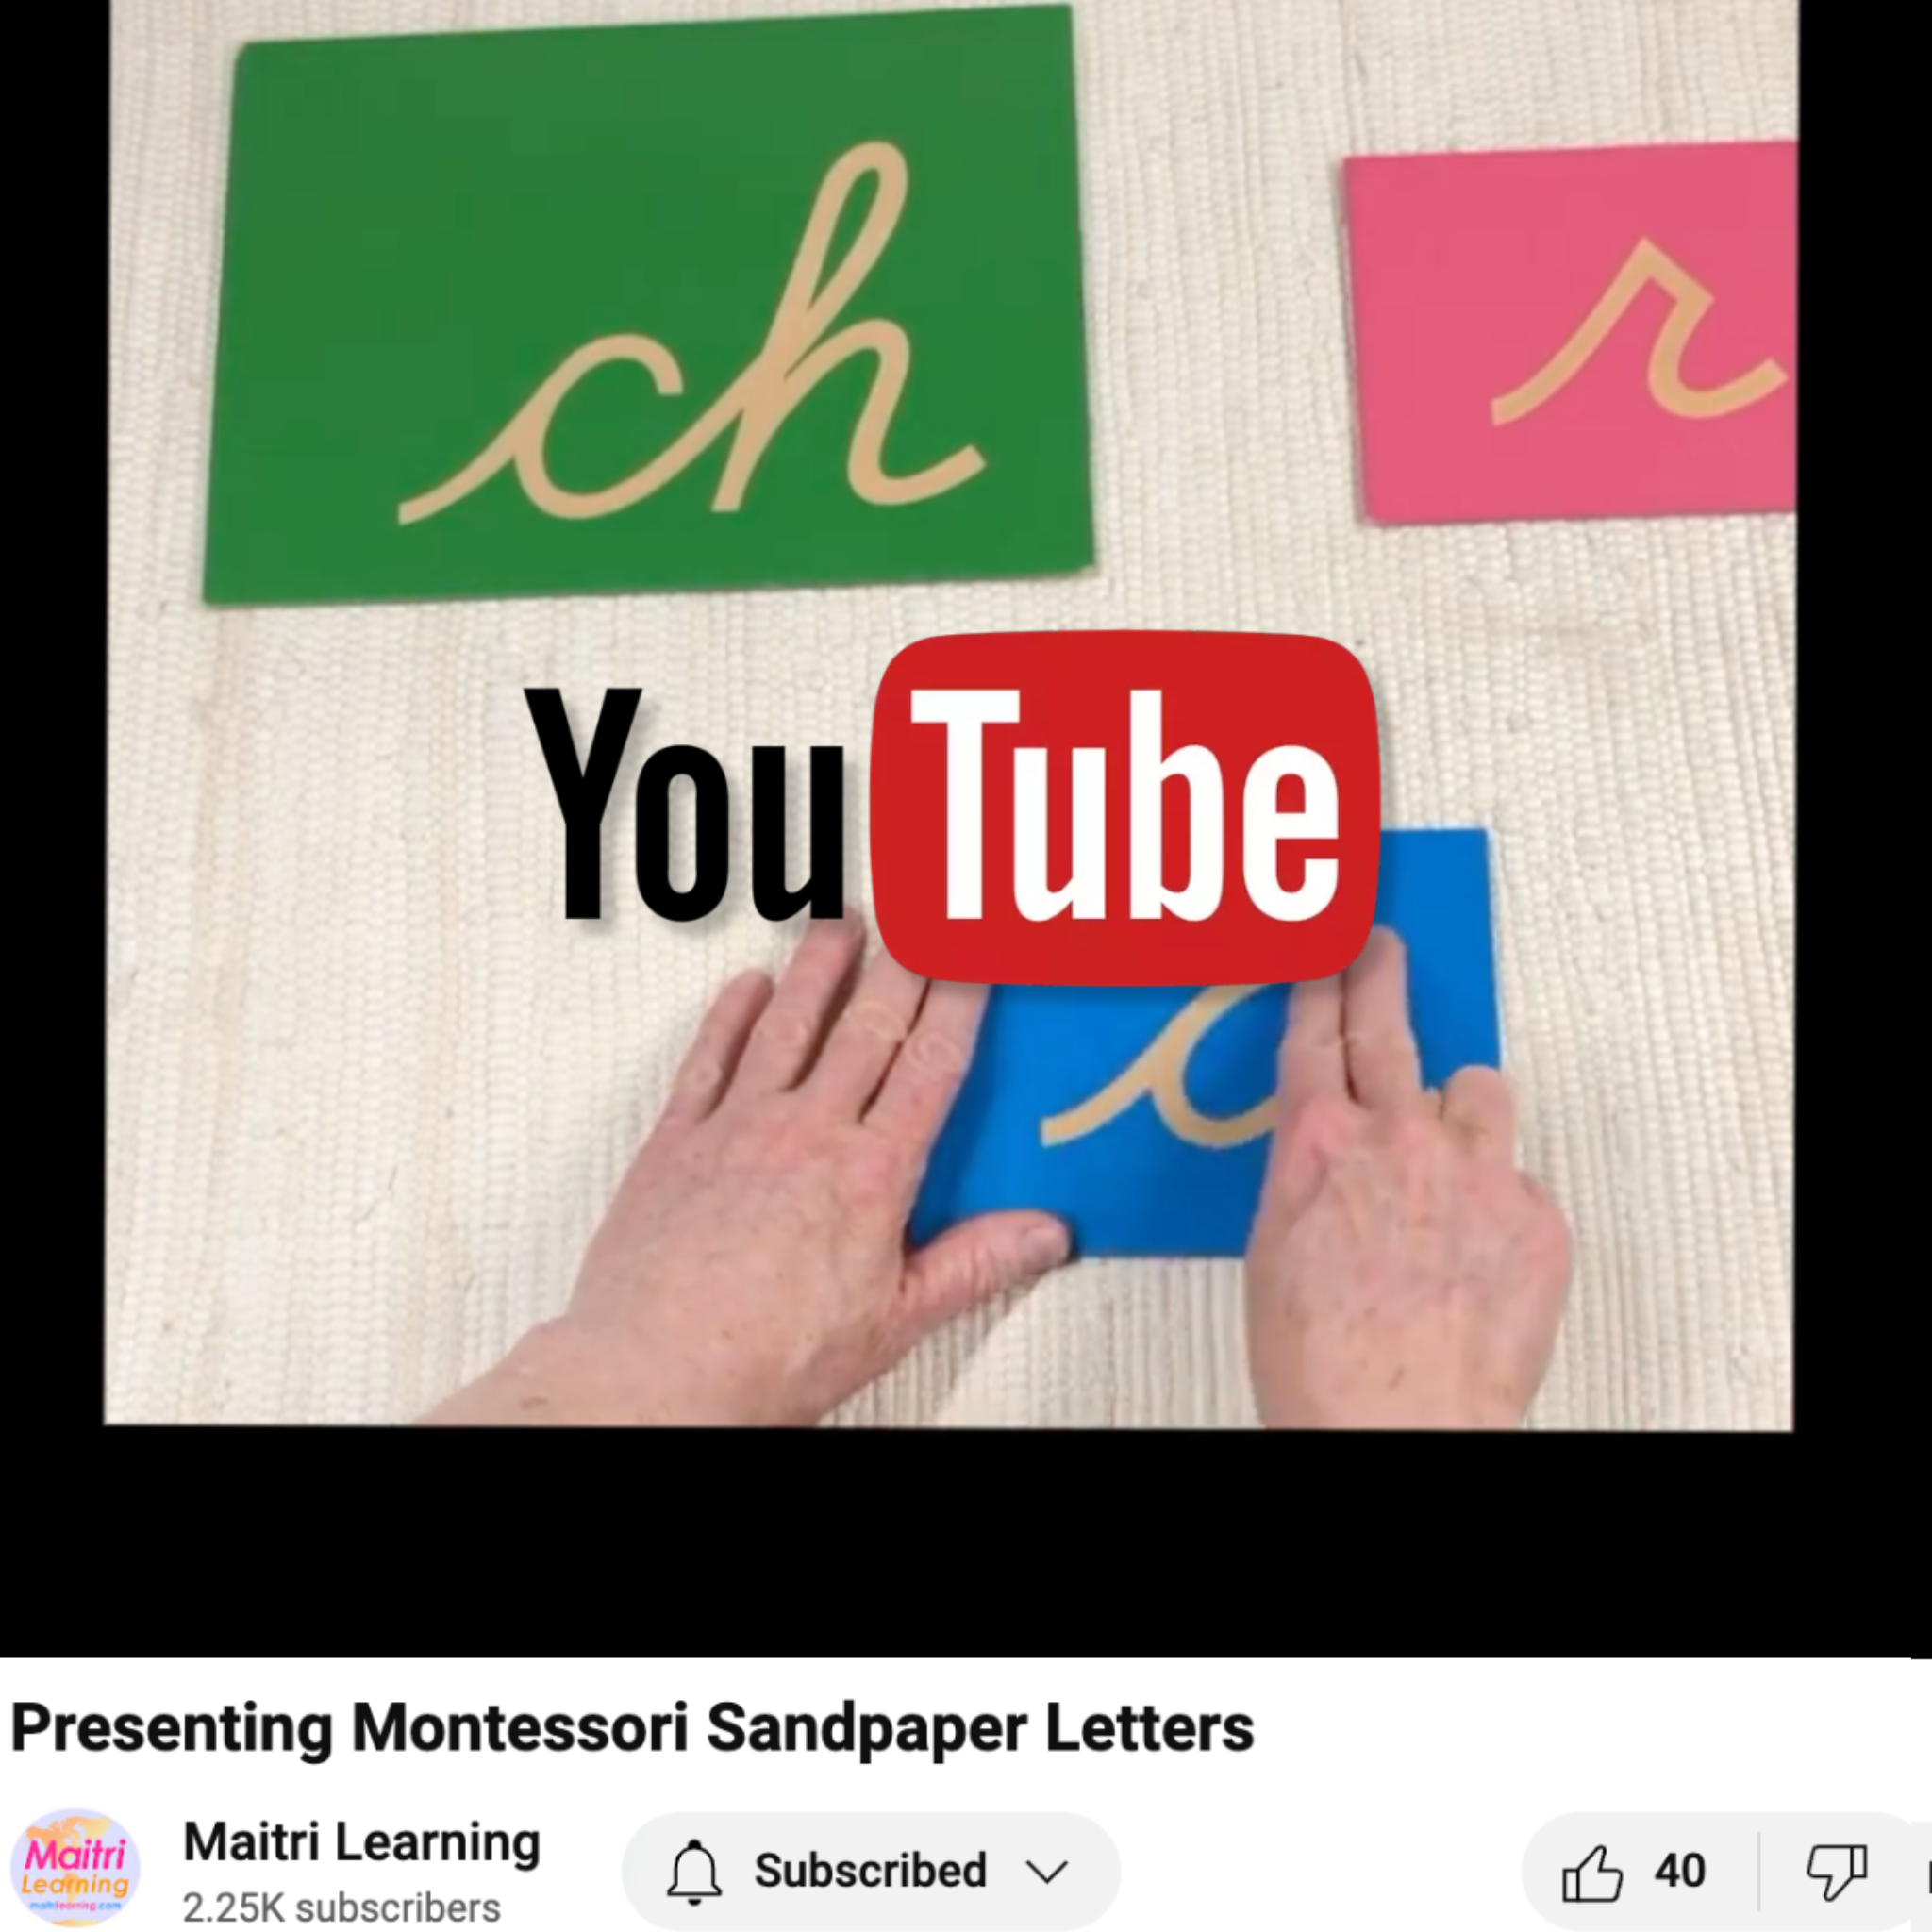
- Pink & Blue Sandpaper Letters (ideally these are displayed all together in one area, such as on molding on a wall; see LORD Equipment Company for the custom molding I helped design)**
- Green Sandpaper Phonogram Letters**
- Card movable alphabets* (traditional*, phonogram*, and two colors like black*, blue*, or red*)
- Cut-out movable alphabets (traditional, phonogram, and two colors like black and red)***
Shelf 3

- Scissors***
- Pencil sharpening activity (2)***
- Metal insets and pencils**
- Trays for metal insets**
- Metal inset paper supply***
- Supply of different size paper slips (for labelling the classroom, grammar/sentence analysis activities)***
- Pencils (not colored; no erasers) of various sizes***
- Glue sticks***
- Staple-free stapler**
- Empty handwriting tray (for carrying paper slips/pencils)**
Shelves 4 & 5
Note: The shelves pictured below are too crowded...best to split these up on two shelves to leave adequate white space between each work.

- Chalkboards (also called the green boards: blank, single lines, & double lines)**
- Individual chalk containers***
- Individual sponges in containers (for erasing chalkboards)***
- Phonetic object box***
- Phonetic 3-part cards*
- Phonetic word cards*
- Phonogram object box***
- Phonogram 3-part cards*
- Puzzle words*
- Phonogram lists*
- Phonogram folders (Dwyer)*
- Phonogram dictionary (Dwyer)*
- Labeling the classroom (sticky note pads cut to a good size are great for this work)***
- Prepared slips for labeling individual work***
- Prepared slips for labeling the environment***
- 3-Part reading cards* (around three sets that may include Zoology* and/or "Parts of" cards)*
- Grammar/function of words activities*
- Grammar symbols** (card stock symbols you can cut out are included in our grammar set)
- Word study* (e.g., compound words, homonyms)
Shelf 6

- The farm**
- Labels for the farm**
- Classified Definition Books* (two or three)
- Classified Definition Cards* (two or three that match the books)
- Reading Analysis materials*** (not pictured)
Reading Area

Invest in a lovely child-sized reading chair and place it in a special spot in your room. It may be next to a window or in a quiet corner with a special lamp, a plant, and a decorative rug. Have a sturdy, floor basket that can hold about 10 books. These are not for the classified books on Shelf 2 (above) or for the reference books you keep in your room (like the Audubon field guide to insects and birds for your region, a great visual dictionary, etc.). Use this just for story books. I would go to the library every Wednesday afternoon and check out 10 reality-based books and return the books from last week. Remember that at this age, the child is learning what reality is. In school, our job is to give them the best the world has to offer...the real world. Good exemplar books are:
- The Dot by Peter H. Reynolds
- The Snowy Day by Ezra Jack Keats
- Make Way for Ducklings by Robert McCloskey
- Blueberries for Sal by Robert McCloskey
- Dory Story by Jerry Palotta
- Every Friday by Dan Yacomma
- Splash by Flora McDonnell
- My Bunny & Me by Lindsay George
- All the Way to Morning by Marc Hartman
- Going to Sleep on the Farm by Wendy Cheyette Lewison
- I Can by Helen Oxbury
- Time for Bed by Mem Fox
- The Bus Stop by Janet Morgan Stoeke
- Tattered Sails by Verla Key
- Musical Beds by Mora Bergman
- Round is a Mooncake by Roseanne Trey
- I See Me by Pegi Deitz Shea
- When Night Time Comes by Judy Pederson
- Madeline by Ludwig Bemelmans
- Sail Away by Donald Crews
- One Morning in Maine by Robert McCloskey
- Beach Day by Karen Roosa
More Thoughts
You may have noticed that your language area can include many scientific and cultural items. For example, you can rotate Zoology cards through one of your 3-part card baskets and "Parts of" anatomy cards through another. By rotating these materials as described above, you can save a lot of space in your classroom while still offering children all that they need.
That said, there are two sets of card materials that you may want to have out all year long: the Land & Water cards and Leaf Shapes (Botany Cabinet) cards. The Land and Water 1 cards can be shelved with the land & water forms while the Leaf Shape cards can be shelved with the Botany Cabinet.
When you are just starting out, you can begin with several vocabulary, matching, phonetic, and 3-part card packets along with movable alphabets and a few book and card sets. Buy different titles for each format so you can still offer a rich variety of language and topics to match the interests of the children.Get as many as you can afford! Swapping these out weekly throughout the year will keep your language area alive.




4 comments
@Lisa, I’m afraid there are no standard dimensions. In general, you want low shelves so that the child can access materials even on the top shelf. That means the top of the shelf should be no higher than your smallest child’s chest. For the older child, it falls somewhere between the waist and bottom of the rib cage. For a toddler room, they are quite low, around 26" tall. For a primary room, they are more like 34" tall.
Each shelf will be between 11" and 14" deep (depending on your space and materials) and the length varies but 36" to 42" long are common.
What matters is that they can elegantly house your materials. We’ll usually have a variety of shelves to meet the needs of each area.
Hope this helps.
Julia Volkman
What are the dimensions of a standard Montessori shelf?
Lisa
I enjoyed reading the information and it was very helpful.
Terry Wood
Love this, very help full.THANK YOU!
Olamide
Leave a comment
This site is protected by hCaptcha and the hCaptcha Privacy Policy and Terms of Service apply.