Updating your language area with cloth pouches

Organizing your learning materials for autonomy
We humans love order and sequence, even those of us who self-identify as a bit of a mess. We all inherently appreciate organization that works. Because we are English speakers, we organize our activities on the shelves in the order of our language. We progress from left to right, top to bottom. So, students typically work with items on the top left shelf before progressing to items on the top right of that shelf or moving on to the second shelf. Make sense?

In the example of Shelves A & B above, you can see that the activities are organized in order of increasing difficulty from left to right along both top shelves, then both second shelves, then both third shelves. For example, Fine Art Display Card work comes immediately before Fine Art Matching Card work. Activities using the Pink/Blue & Green Movable Alphabets come right before Phonetic 3-part Card work, etc.
You don't have to use two shelves the way we have. In fact, you should expect to adjust based on the size of your shelves, where they'll be located, and the size of your activities. Then, when your students start working in the area, you may discover additional adjustments that need to be made to meet their needs, interests, and abilities. This photo is only presenting one possibility of what might work. So get your creative juices flowing and immerse yourself in designing your perfect setup.
Let's walk through our setup example shelf by shelf.
Shelf 1A: Spoken Language

The first step to literacy is developing student vocabulary and the ability to use that vocabulary. We do this with the help of vocabulary cards, matching cards, sorting cards, and fine art. We have one packet of vocabulary cards displayed in a basket to create a reference for what's in those pouches that follow.
After a few one-pocket vocabulary card pouches, we progress to two-pocket matching card pouches. These give children a chance to work with the new vocabulary terms they are learning. The two pockets keep the two identical sets of cards easily organized.
You may also wish to have a few pouches for specific sorting activities (like sorting plants from animals). But, you can also just guide the students to choose two different vocabulary card packets, mix up all the cards from both packets, and then try to sort them out. See what feels right for you and your students.
The Fine Art Display Cards are in a basket that also includes mini-easels; these allow students to display their favorite pieces of art around the room. Another collection of Fine Art Display Cards is in the teal cloth pouch. These can be used for conversation and discussion. We love to use art to help children learn how to express their thinking; any ideas they have can't really be wrong because, it's art!
Shelf 1B: Spoken Language & Letter-Sound Knowledge

After students learn about the Fine Art Display Cards, they'll be ready to use those same images in a new way. Fine Art Matching Cards let them do exactly that. The teal cloth pouch is a two pocket pouch; one pouch holds one set of artwork and the other pouch holds the duplicate set.
You'll continue to help students develop vocabulary throughout the year by changing up what is included in these vocabulary and matching card displays. Vocabulary building and having motives for conversation is important for learners of all ages!
Once students have an adequate beginning vocabulary, you'll want to play sound games/I Spy to help them develop phonemic awareness. We don't have a spot for it on our shelf, but if you like, you might add in an empty basket here to remind you to gather materials from around the room to play those games.
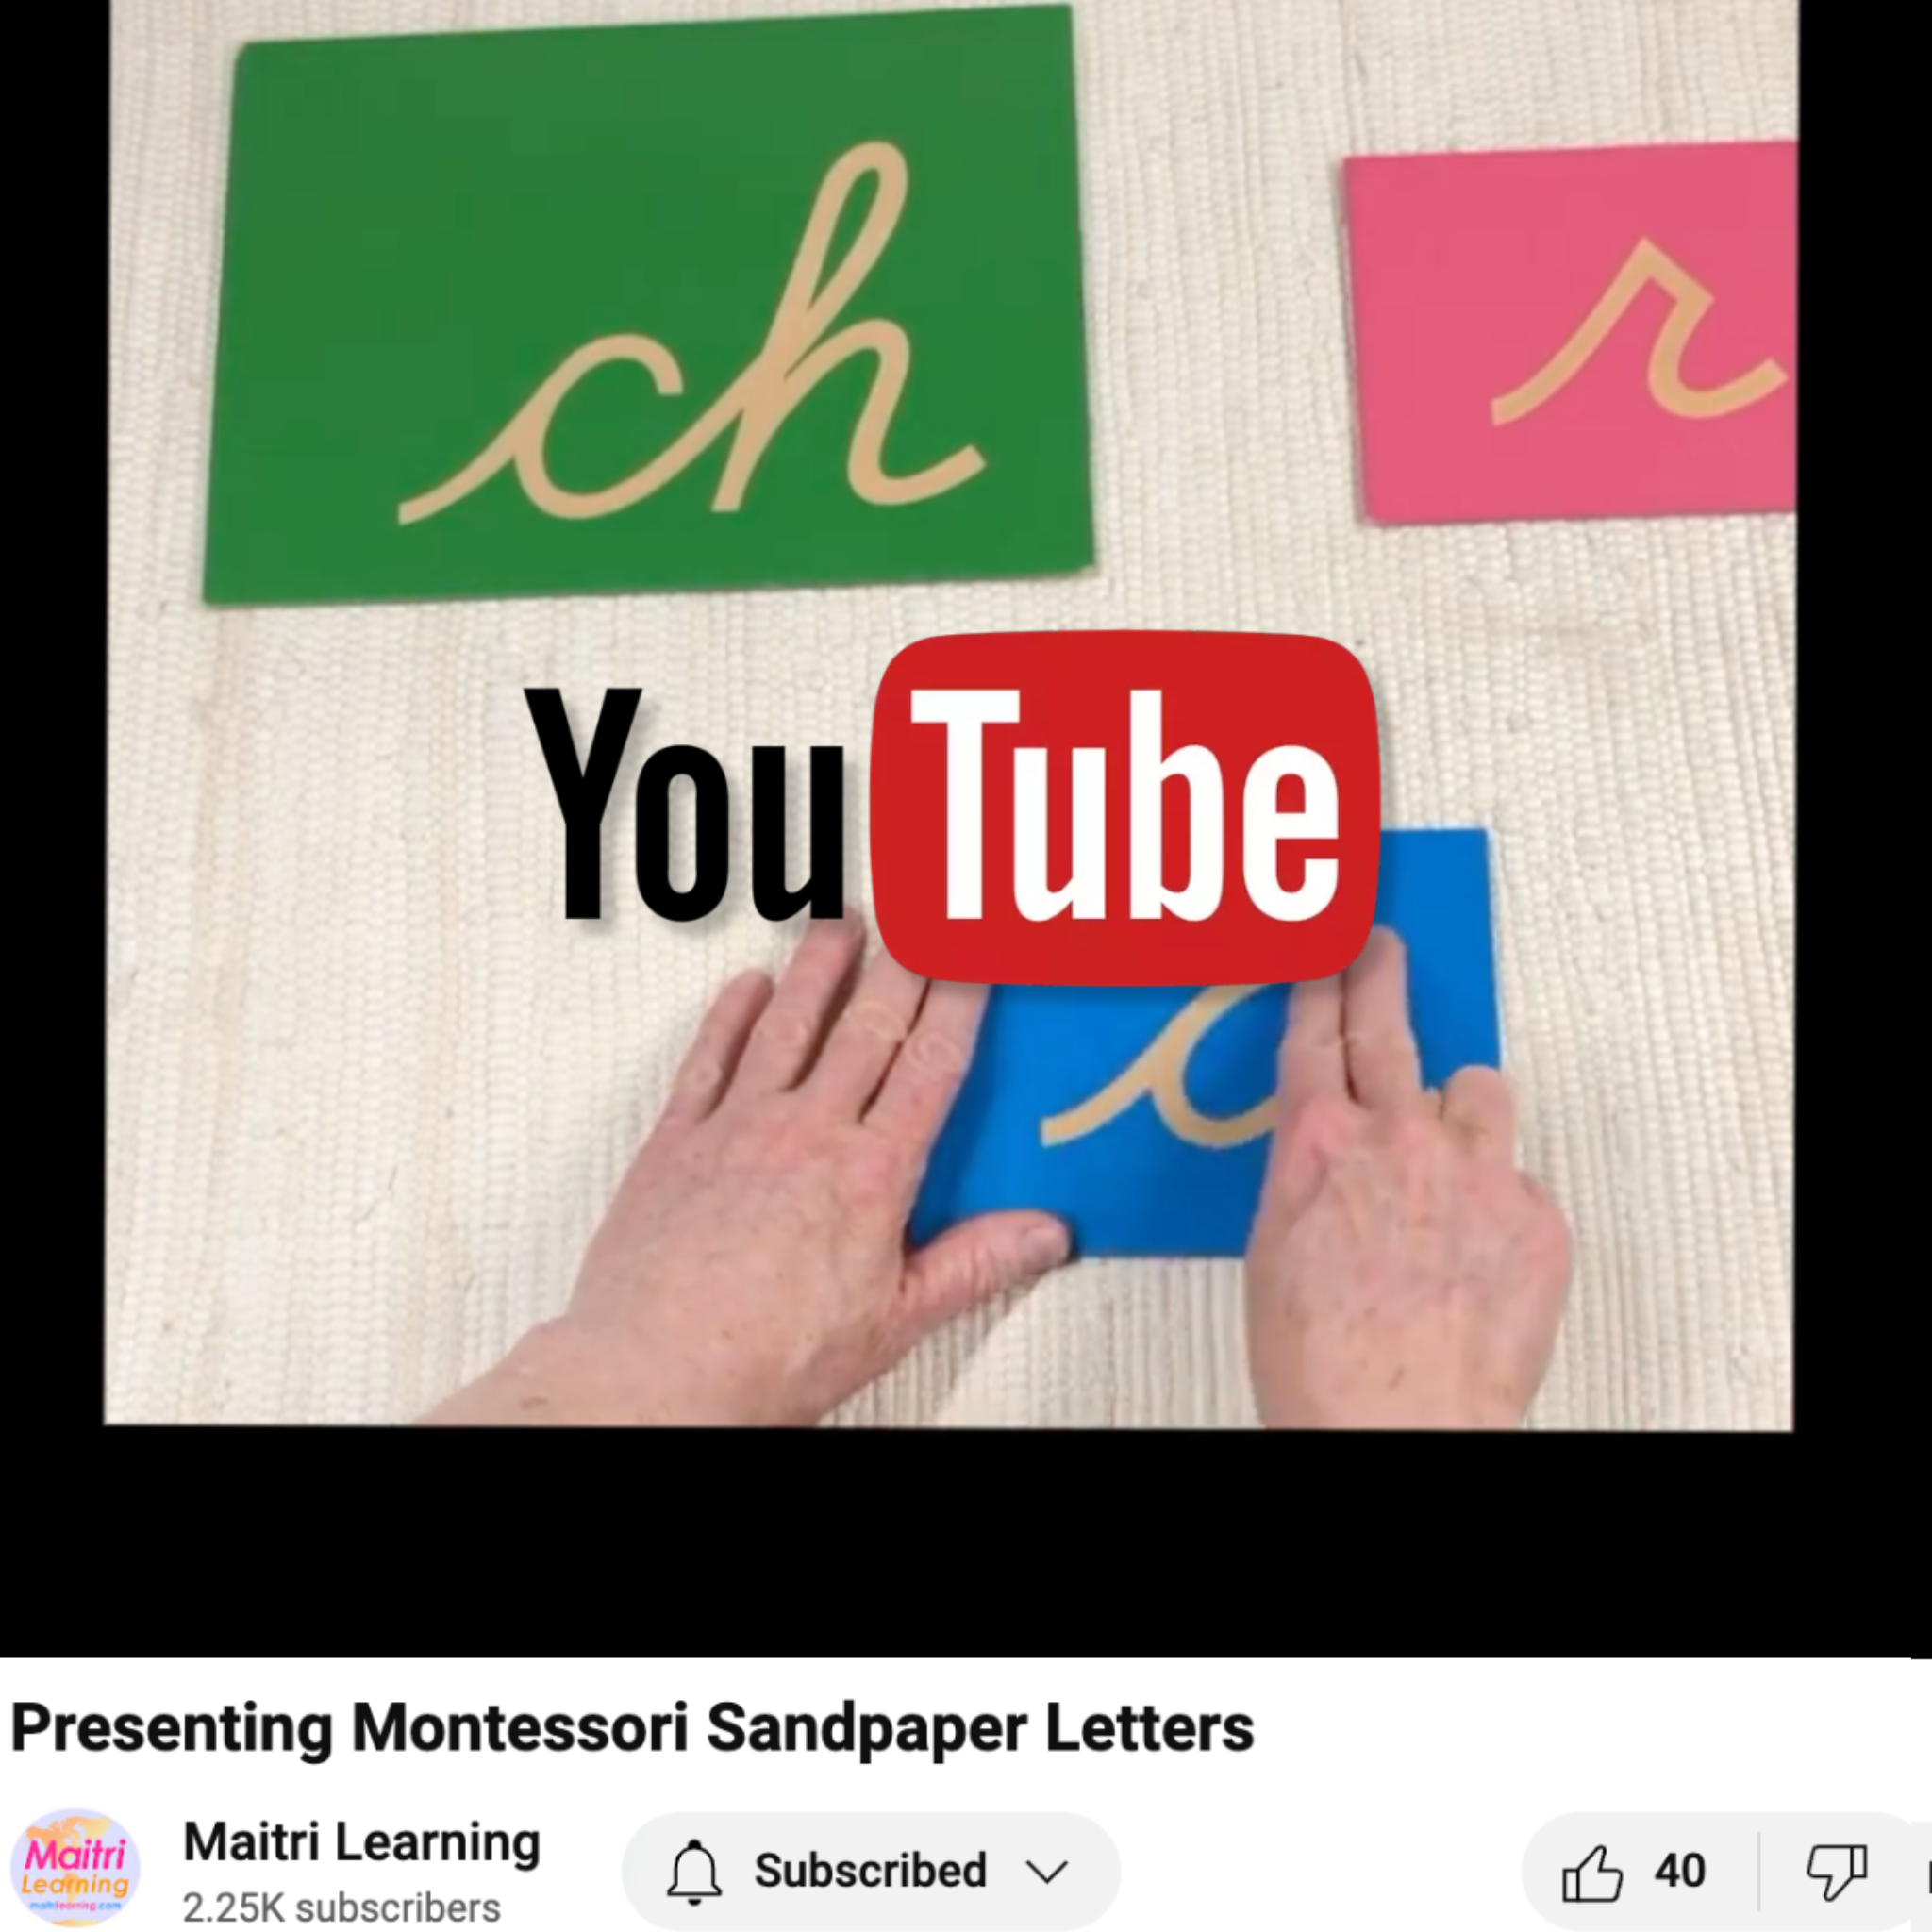
After students start to recognize the individual sounds in our language, they're ready to start linking those sounds with letters. The sandpaper letters are a great way to achieve this with younger learners. But, as students get older, they may be less interested in tracing the sandpaper letter shapes. If that's the case for you, you may wish to have small chalkboards, a sand tray, or other letter tracing possibilities here instead of or in addition to sandpaper letters.
Shelf 2A: Geography Folders & Beginning Writing

Depending on the size of your shelves, you may wish to include the Geography Folders on the top shelf with spoken language materials or on another shelf with geography materials. There is more than one right way to organize things here.
You'll use the geography folders to help children gain an appreciation of the similarities and differences of life on all the continents. The color-coding on the geography folder pouches is pre-determined. This is not a place to mix things up. The cards themselves carry that color-coding through. For example, there is a small image of an orange North American continent on the back of each North America geography card. That's why those cards are in an orange pouch. Make sense? Just for reference, North America is orange, South America is pink, Europe is red, Africa is green, Asia is yellow, Australia is brown, and Antarctica is ivory.
With all of this vocabulary and letter-sound knowledge under their belts, students will be ready to start building words phonetically with the first alphabets. The pink pouch is a foldable pocket chart that contains the single alphabet letters with consonants in pink and vowels in blue. The green pouch is a foldable pocket chart that contains the green key sound phonograms/digraphs. These pink, blue, and green letters all match the color-coding for the sandpaper letters.
We recommend introducing the single letter and phonogram alphabets at the same time. This empowers students to phonetically spell any word they like. It frees them to phonetically express their ideas. You can use these for dictation too but you'll also want to be sure to inspire children to capture their own thinking in words with these magical literacy tools.
Shelf 2B: Phonics & Beginning Reading

As students write more and more with the movable alphabets, they will be preparing themselves to start reading. When you notice them starting to sound things out, it's time for phonetic 3-part cards. The pink, blue, green color-coding here is not set in stone but it is a bit of a standard in many classrooms.
The pink 3-part card pouch holds simple, CVC phonetic words. The blue pouch contains phonetic words that include blends (like mask and frog). The chartreuse green pouch holds phonetic words that contain a single phonogram that matches the key sound phonograms from the green sandpaper letters and green phonogram alphabet (like ch or ee). The pine green pouch holds phonetic words that contain a single spelling variation of a key sound (like e with a silent e). You'll want to swap out the cards in each of these pouches every week or two so be sure to have lots for each level on hand.
In the phonics cards basket, the long pink pouch holds about 10 phonetic words typed in pink and blue letters (pink for consonants, blue for vowels). Behind it is the black licorice pouch that holds about 10 puzzle/sight words. Behind that is the red phonetic activity card pouch that holds about 10 verbs that are phonetically spelled (like flap and jump).
The purple pouch behind that is a 3-part card pouch that holds Level 4 phonetic reading cards. These feature words that follow all of the rules students have learned in the pink, blue, green series but these words include more than one phonogram in each word (like chicken or leash). This is the final bridge before children move on to non-phonetic 3-part reading cards.
The red pouch in back contains phonogram lists. These are lists of around a dozen words/page that all feature the same phonogram.
When students have some solid abilities in reading these phonics activities, they'll be ready to stretch into the non-phonetic half of English. 3-Part cards are a great way to do this because they have a built-in control of error. You can rotate these out regularly so students can always find something of interest to read at the word level. Some teachers like to match the 3-part card offerings to the vocabulary and matching card offerings. If you do that, you may want to use the same color pouch for each format (e.g., a peach one-pocket pouch for fruit vocabulary cards, a peach 2-pocket pouch for fruit matching cards, and a peach 3-pocket pouch for fruit 3-part reading cards).
Shelf 3A: Writing

Once children are able to use the pink/blue and green card alphabets, they're ready for more challenge. We offer this by introducing the cut-out alphabet (in the wooden box). Maitri Learning doesn't make these but they're worth having. These are 3-D letters cut out of wood or plastic. To use these, students not only need to know their letter sounds and how to build a phonogram out of individual letters, but also how to orient a letter accurately (no upside-down b's here). It's a great next step.
At some point, as the students are reading more and more, they'll start to notice and wonder about accurate spellings. This is when we introduce the solid color movable alphabets. Each pouch is a foldable pocket chart that contains all blue, all red, or all black letters (color-coded to match the pouch). There are a million activities you can do with these alphabets for self-expression, word study, grammar study, spelling activities, and just about anything you can think of.
Shelf 3B: Writing & Grammar

The movable alphabets help children develop their confidence with writing and spelling. They make it easy for students to correct their mistakes without erasing and crossing out and getting stuck on handwritten errors. But, once they have that confidence, it's time to handwrite. You'll want to have metal insets and chalkboards (not shown) to prepare the hand for writing. Then, you'll want to setup a writing tray like this one. This is for you to use when giving lessons and for the students to use for their own work.
Each small pouch in the labelling the environment basket contains word slips that are grouped by subject area. These let the students place the right word slip on everything in your clasroom from aloe vera plant to table to pencil sharpener. We have a lot of free downloads you can use to make your own slips for these pouches.
Next you'll find our grammar/function of words cards and symbols. There is more than one way to offer these activities. In this example, we use cards to guide students to gather things from the environment or copy down phrases to work with. If you're tight on shelf space, you'll appreciate this approach. The color-coding for the grammar pouches is pre-determined. It matches the color-coding of the text on the cards and the grammar symbols. So, stick to what we have here if you don't want to confuse the students.
For reference, adjectives are deep blue, articles/pronouns are cyan blue, verbs are red, adverbs are orange, prepositions are green, and conjunctions are pink. The command card phrases are in deep red pouches. Some teachers like to sew beads on each pouch or use a fine tip sharpie to draw a small number on each pouch to indicate the order for each grammar activity. Do what works best for your students.
Shelf C: Spelling, Word Study & Reading Comprehension

It's hard to believe that you can fit so much on one shelf! But, when you rotate materials in cloth pouches, you really free yourself from many space constraints.
The first shelf here starts with a focus on the spelling variations common in English. We don't need to cover every possible variation here. That is a trap that many "literacy" programs fall into and it gets us bogged down in mechanics. We risk losing our enthusiasm and love for the rich complexities of language if we narrow down in this way. Instead, the Phonogram Folders focus on spelling variations seen with 14 common key sounds. That's enough to give students the flavor of how English works. Reading and writing and falling in love with dictionaries will help them refine the rest. Speaking of which, you probably want to have a good dictionary on your shelf right about here.
The phonogram dictionary comes next. Show children how to use this to look up words whose spelling they can't figure out. It includes all 42 spelling variations in the Phonogram Folders and refers learners back to the key sounds.
At this point, you can continue moving right to science 3-part cards or move down to Word Study activities.
Like grammar, the pouches in the word study basket are color-coded. Antonyms are teal, synonyms are chartreuse (spring green), compound words are grey, contractions are berry pink, homonyms are peach, collective nouns are yellow, and masculine/feminine activities are purple.
Now I personally love to match the colors in the 3-part card pouches and Build-A-Book pouches. Look at how much you can fit in such a small amount space! In this example, we have Land & Water 1 in light blue, Land & Water 2 in cerulean blue, Leaf Shapes in green, Parts of the Flag in deep red, and then a single parts of packet for a vertebrate, an invertebrate, and a plant. Many teachers like to keep Land & Water 1 and Leaf Shapes out all year long. But the other materials, you can rotate based on your themes or student interests.
You'll also want to have many, many more books, encyclopedias, and field guides available for students to read. Many learners like to track their progress with leveled readers (we like Miss Rhonda's readers). But leveled readers are less important than having books that match the interests of your students. There is a lot you can offer just by checking out 10 new library books each week!
The last activity in our sequence is sentence analysis. This is the culminating work that really helps learners demonstrate their fluidity with English. It's a wonderful capstone type of project.
Rotating materials
You're probably realizing that the first rule of using cloth pouches is that there are no rules! There are limitless ways to color-code your card and book activities. But one thing we strongly recommend is that you plan on rotating your activities. Pick a day each week (maybe during your prep time) and plan on swapping out the contents of the pouches on one shelf. This is a realistic goal that won't leave you feeling overwhelmed. Your intention is to keep the learning area alive throughout the year by keeping the contents of the pouches fresh, exciting, and new.
With this approach, you don't need a million cloth pouches and shelves. For example, in the first language shelf, there is one basket plus one ivory, one peach, and one orange pouch for vocabulary cards. You will want many, many more vocabulary cards than this (we have 26 packets in our basic set). But you won't put them all out at once. Instead, put out ones that match any classroom themes you have for the month. Or, if you have a student who is obsessed with dogs, keep the dogs cards out until they are ready for something new.
When you swap out the cards, you can let the students know when you greet them in the morning. You can really inspire language work by saying something as simple as, "There's something new in the orange vocabulary card pouch today. I think you're going to love it!"
Color-coding
Unless color-coding is standardized (as with geography folders, grammar activities, etc. as mentioned above), feel free to choose whatever colors you like for each activity. Just keep in mind that your students will start to associate different colors with that topic. So, if you decide on earth tones for your vocabulary cards and pastels for your matching cards, stick with that for the entire year. You may decide that all vertebrate cards should be in red or deep red pouches and plants should be in shades of green. Think about what materials you have, how many you'll be able to rotate, and what makes the most sense for your situation. Whatever you decide, be consistent. The students will get used to the system you come up with so give some thought as to what makes the most sense.
Summary
I hope you now have a renewed and inspired vision for how you can design your language area. Cloth pouches are versatile classroom organizers that can transform a cluttered space into an inviting learning center where students can independently access leveled reading materials, word work activities, and other literacy manipulatives. By using different colored pouches to categorize materials by skill level or activity type, you create an intuitive system that helps students navigate their options while developing crucial organizational skills.
The durability of cloth pouches means they can withstand daily use throughout the school year, and their soft texture makes them more appealing and quieter than plastic alternatives—an important consideration during independent work time. And, because they are 100% cotton, just pop them in a cold water wash whenever you need to freshen them up.
Whether you display them on pot lid holders, mini-easels, in attractive baskets, or just on their own, cloth pouches provide a flexible foundation for a language center that grows and adapts with your students' needs. You and your students will love coming into this beautiful learning environment day after day.
Please be sure to share your design ideas with us! It is so helpful for all of us to hear how you've designed your space.
Good luck!




Leave a comment
This site is protected by hCaptcha and the hCaptcha Privacy Policy and Terms of Service apply.